Professional photographer Karl Taylor has put together a short-but-very-useful tutorial that will show you how you can calibrate your lens autofocus without buying a special calibration chart or tool. All you need are a few household items, your camera, and your tripod.
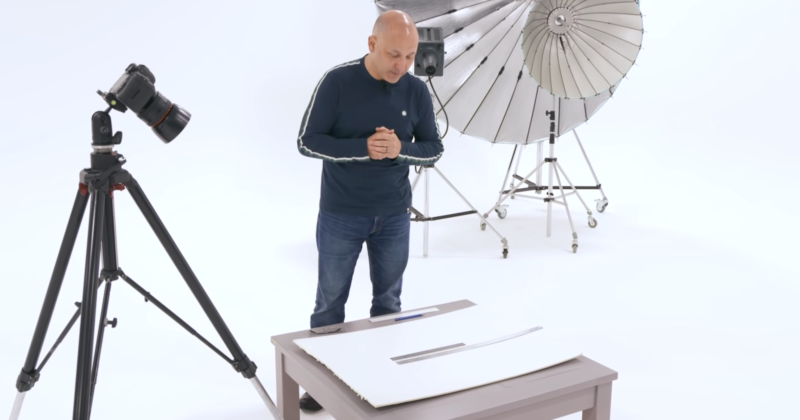
The whole point of the video is to prove that you don’t need to buy a calibration tool in order to ensure that your lenses are focusing just right. In fact, this seems to be the way Taylor still calibrates his lenses to this day. All you need is a low table, some white poster board, a marker, a couple of rulers, and a tripod.
The step-by-step is much easier to show than tell, but you’re basically going to draw a straight line across the frame on your poster board, have your lens focus on that line, and then place the two rulers on either side of the center point of the line. Then you’ll take a photo, and the rulers will show you exactly how far front or back-focused this lens happens to be.

In the case of the Canon lens that Karl’s testing here, it was front focusing quite a bit; but a quick trip into the menus for a custom calibration helped to set it just right. Your mileage may vary, of course, and if you use Nikon or Sony or some other brand, you may need to do some digging to find the correct menu item for custom lens calibration.
Even if your lenses start out perfect, their focus can drift over time, so it’s good to check all of your lenses periodically. Especially if you specialize in portraits or other genres where you’re frequently shooting wide-open, even a minor slip can mean missing key shots.
Check out the full tutorial up top to see how you can MacGyver your own calibration tool and make sure that all of your lenses are focusing with pin-sharp accuracy.
(via ISO 1200)