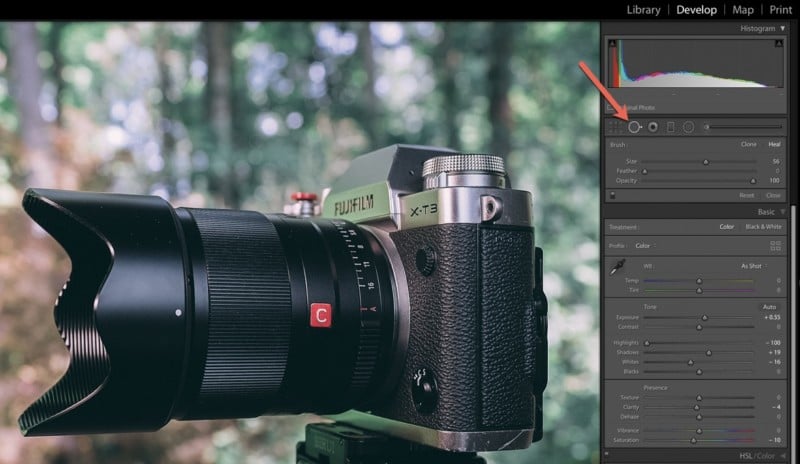
The spot removal tool in Lightroom is a fast and simple method to touch up a photo and cleanup imperfections. While not as accurate or full-featured as the various touchup tools in Photoshop, sometimes you only need a simple and fast way to perform a touchup directly from Lightroom.
Using the tool is straightforward. You click on the small brush icon and then will be offered a choice of either Clone or Heal. In most cases, the Heal choice will yield the best results for fast touchup of blemishes. You can also set your Size, Feather, and Opacity preferences.

Then, fixing a blemish or problem in the photo is as simple as simply “painting” right over it with the tool.
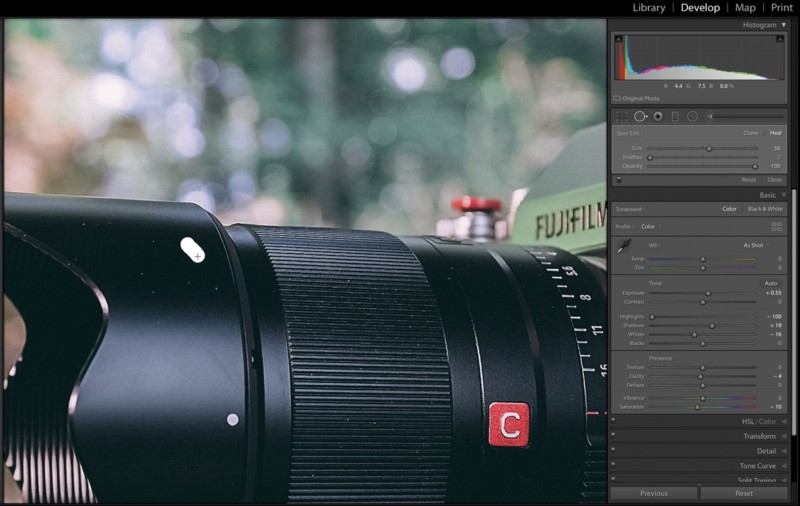

Lightroom will then try and find another area of the image that most closely represents the same color, texture, lighting and so forth:


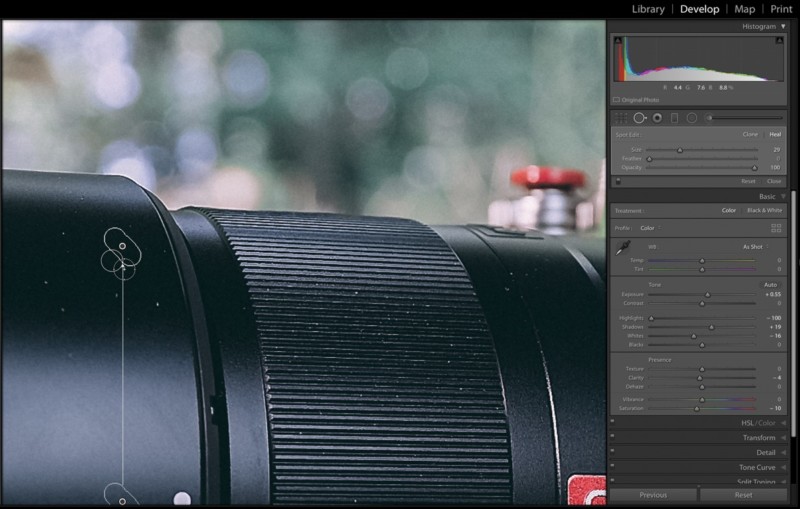
In most cases, Lightroom does a fairly good job the first time around. If not, you can easily click and drag the suggested reference point to another area of the image.
While adding a single spot removal point usually works, there are times you may need to add more than one. Here’s the problem: if you try and add two or more spots directly almost on top of each other, it is extremely difficult, if not impossible to do. It’s a real hassle, actually.
The reason is because the selected cursor points overlap each other, and when you are trying to move your mouse over them, Lightroom will just select the previous point and will not allow you to activate a new selection.

The Helpful Shortcut
Fortunately, there is a great keyboard shortcut which will solve this problem. Simply press the H key on your keyboard. Once you do, Lightroom will “hide” all of the previous spots that you have placed in the photo and you can easily maneuver your cursor to wherever you need and add another spot.
For a short demonstration on how to do this, please see the video.
A couple of things to keep in mind about this tool and this shortcut:
- Lightroom is not the best software application for performing detailed touchup on photos. Anything other than a very simple touchup job will require a more full-featured pixel editor like Photoshop.
- Lightroom will also slow down as you increase the number of spot points using the touchup tool. Meaning, you don’t want your photo to be filled with them like this
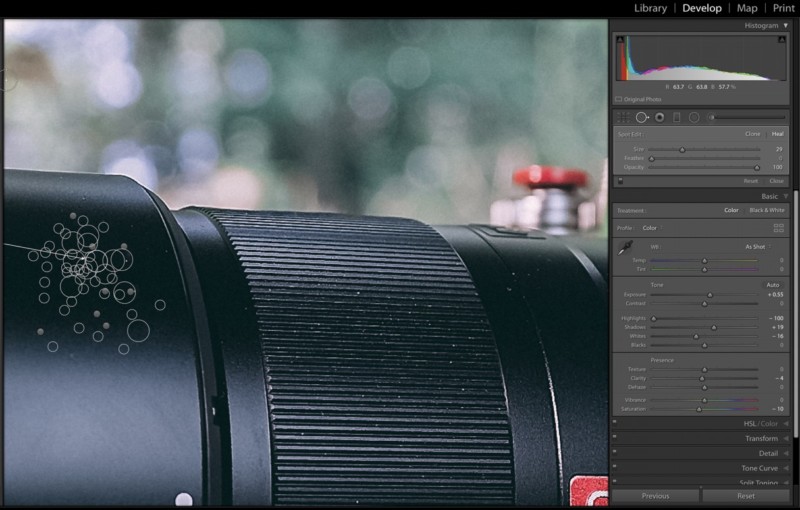

If you need to do this much touch up, use Photoshop!
However, for quick fixes directly in Lightroom with a minimum of hassle, give the ‘H’ shortcut key a try if you need to add more than one point from time to time.
Happy Lightrooming!
About the author: Chris Lee is a corporate photographer, technical trainer, video editor located in the Atlanta area who created the pal2tech YouTube channel last year. He recently woke up one morning and realized that he loves teaching photography even more than actually taking photos. We know… he still finds that hard to believe also.


