Automotive photographer Dave Cox (AKA ShootingDave) recently put together a handy step-by-step tutorial that shows you exactly how he uses light painting to capture dramatic car photos when working in a tight space like a workshop. By combining six exposures into one, he’s able to capture a beautiful and surprisingly natural looking photo.
Dave doesn’t waste any time for this tutorial. After a quick intro, he jumps right in to show you the settings and light painting “paths” he used to capture each of the six individual frames, and then he jumps into Lightroom and Photoshop to show you how he merged them into the final product.
First, the photos. Every single photo was captured at 35mm, f/5.6, and ISO 100, with 10 seconds on the shutter. These settings do not change. The only thing that changes is what part of the car that Dave is light painting, and how long he keeps his light on during each exposure.
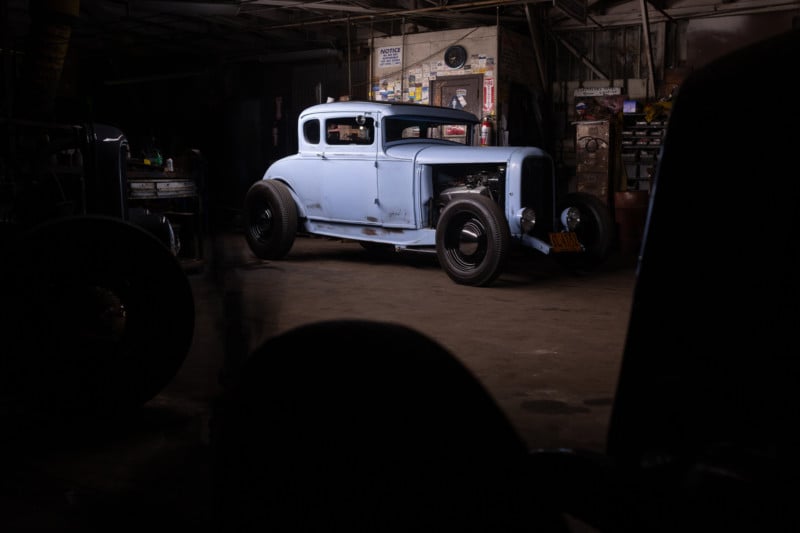
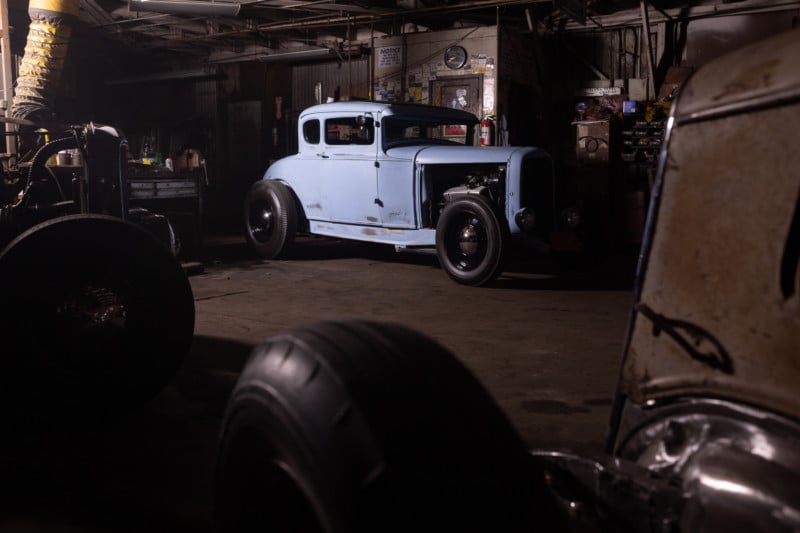
The first image is the “hero” image. Using a tube light, he walked from the back to the front of the car, creating some distance as he went so the light “fell off” towards the front:

The second shot was used to light the front of the car, again walking towards the camera to create a bit of natural fall-off:
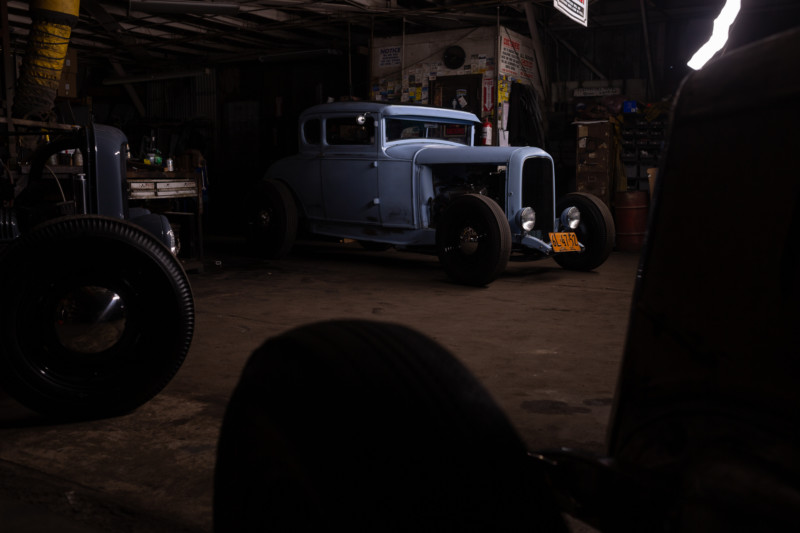

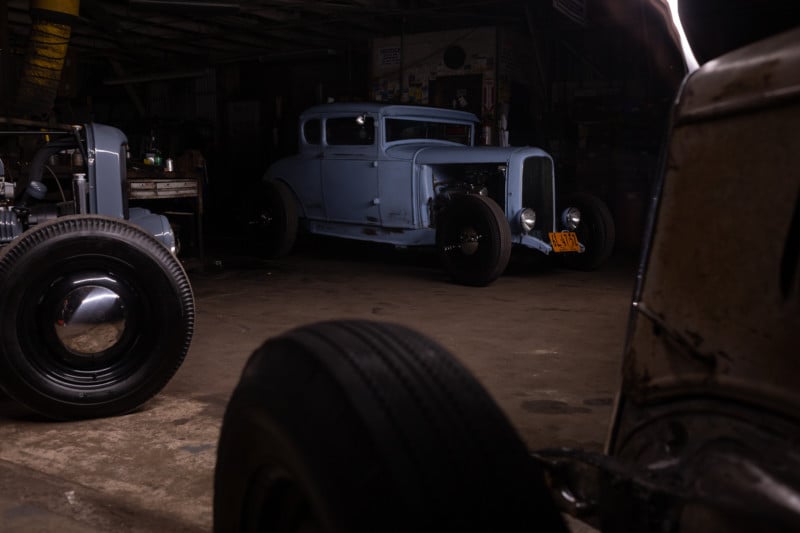
The next two shots were used to light up the two foreground cars that are framing the hero car. Both of these images took between 2 and 4 seconds of light to properly expose:

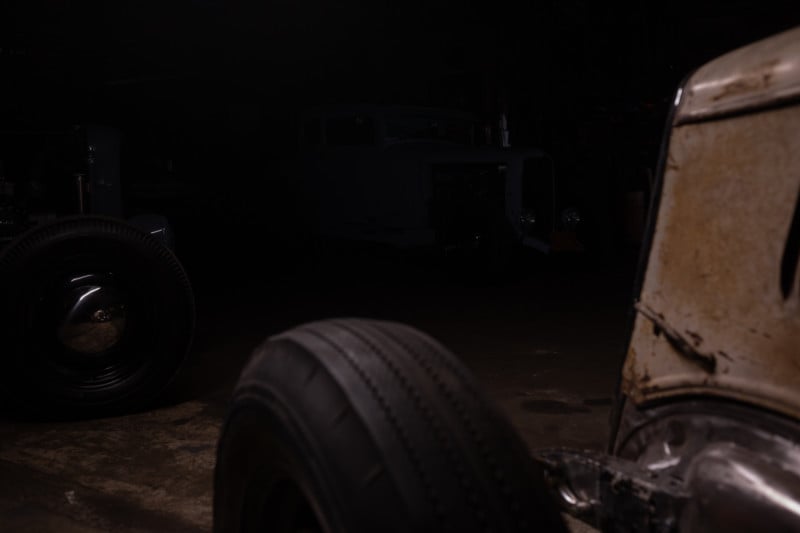

Then he lit the rear of the car from a 45-degree angle, creating some nice distinct shadows that he used in the final image:

The final image is just providing a little bit more fill:


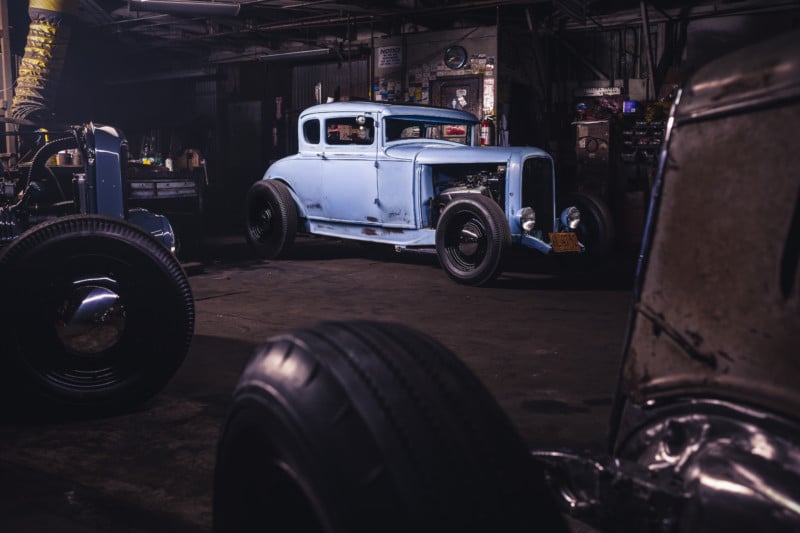
All together, you get this hero shot of the car, captured in a cramped workshop that simply wouldn’t have allowed for this to be lit any other way without having to Photoshop out light stands and creating other issues:

The rest of the video is dedicated to Dave’s editing process in both Lightroom and Photoshop. Lightroom came first for all of the global edits to the individual frames themselves, then he merges all six into the “hero” image in Photoshop, before polishing the final photo in Lightroom for export.
What’s really helpful about Dave’s tutorial is that he actually lays out the space and describes the path he took with the light, explaining how long the light was on while shooting each individual exposure. He also shows the amount of detailed and thoughtful masking that it takes to properly combine these exposures in post.
Check out the full video to see this process from start to finish, and then head over to the ShootingDave YouTube channel if you want to see more Automotive Photography tutorials.
Image credits: All photos by ShootingDave and used with permission.


