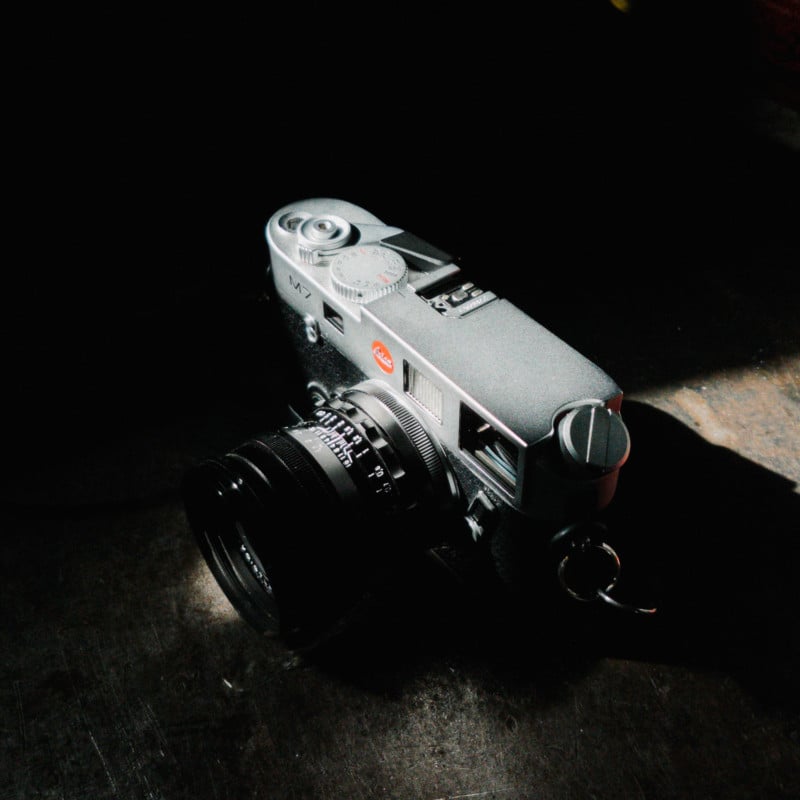
Shooting black and white film over digital in the last few years has changed my approach to photography a great deal. The process of shooting film, from the tactility of the Leica M7 and Rolleiflex 2.8D cameras that I use, to developing and scanning, have given me a much deeper appreciation for the craft of being a photographer.
Before switching exclusively to film for my personal work, I began to work on a way of simulating the effects of Kodak’s much-beloved TRI-X 400 (400TX) film. I’ve become accustomed to its rich, grainy texture and tonal response to certain colours such as skin tones.
Being able to shoot digital photographs and still achieve the same feeling of Kodak Tri-X 400 is something I have been reaching for with this effort. It took me a few months and continuous tweaks, but I think I’ve been able to emulate the film fairly well.
First, an Example
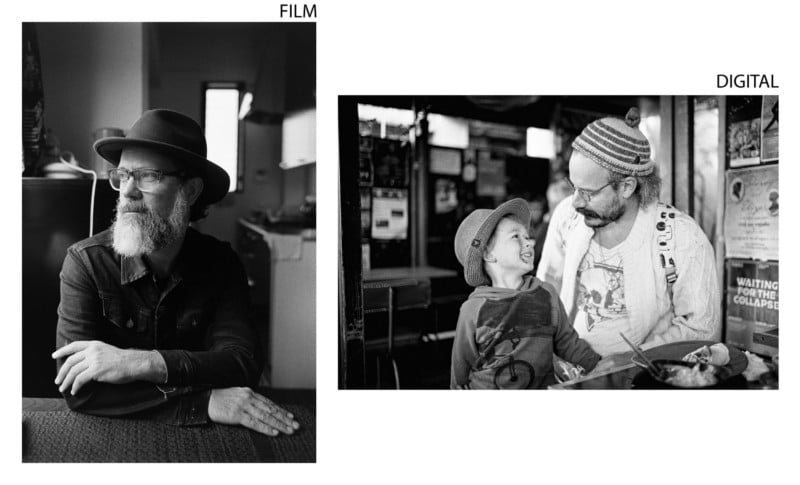
The photograph on the left is from my Leica M7 with a 35mm Voigtländer lens using Kodak 400TX film developed in Rodinal 1:50. The right is from a digital Leica M Typ 240 image I took the year before using a Leica Summilux lens. Click to enlarge.
For the first time since starting to work on the process, the results look identical in nature when printed, from tonal range to grain detail and structure. Printing the results was the final test for the process.
See below for requirements and steps in how to emulate the grainy black and white film in Lightroom and Photoshop using my simulation process.


Required for Tri-X 400 Preset (optional)
Required for Effects/Grain Simulation
Installing Photoshop Action & Lightroom Presets
Lightroom Templates
- Download the .lrtemplate files and launch Lightroom.
- In the Develop module, under the Presets panel, right click on User Presets and click Import.
- Select these files to import the presets.
Photoshop Action (download)
- Launch Photoshop.
- Under Window menu, open Actions.
- In the Actions menu button, click Load Actions.
- Select the downloaded Photoshop Tri-X Simulation Jan 2020.atn file to add the actions.
How To Process Your Photos (after setting up software and actions)
These instructions describe how to edit your digital raw files from the point of view of a Leica M DNG. You will have to use VSCO Film 01’s “Tri-X 400” preset then apply VSCO 400TX Custom Tone preset for other brands. Your results may vary depending on the camera.
In Lightroom:
- Apply the DIGITAL TRI-X (Leica VSCO) preset in Lightroom.
- Alternatively you can apply your own black and white treatment if you do not have VSCO Film.
- Ensure that all “Effects” are turned off in Lightroom.
- Monitor brightness and calibration is a must for accuracy.
In Photoshop:
- In Photoshop, run the PROCESS (35mm) action you imported from the link above.
- If you want a medium format look, using the PROCESS (645) action for more detail.
- If Silver Efex Pro 2 does not run, ensure the plugin is installed and accessible from the Filter / Nik Collection menu.
- If you wish to save space, press Save As TIFF but choose the ZIP compression.
How Does It Work?
It wasn’t until I spent a good deal of time developing my own Tri-X in Rodinal acutance developer and scanning it with a high res DSLR (Nikon D810) that I began to understand just what the film looked like and handled different conditions, and how it should look when printed. The following images show the major parts of the action that produces the final result. Here is a rundown of the steps for the 35mm film process:
- Lightroom preset applies clean black and white tonal look with +15 Clarity for edge enhancement.
- “PREPARE” Photoshop action downsizes the image appropriately, blurring super-fine pixel detail then applying two unsharp masks to enhance edges.
- “HALOS” action applies a haloing effect to the very brightest areas of the image, simulating film halation from bright light sources.
- “GLOW” action applies a more subtle but broader glow effect to bright areas of the image.
- “GRAIN” action applies the Silver Efex Pro 2 grain to the image.
- “24MP UPRES” resizes the image to 24 megapixels, enhances edge clarity like a film developer and sharpens the grain detail for printing.
- “FINALISE” converts the image to 8-bit grayscale to reduce file size.


Direct Comparison
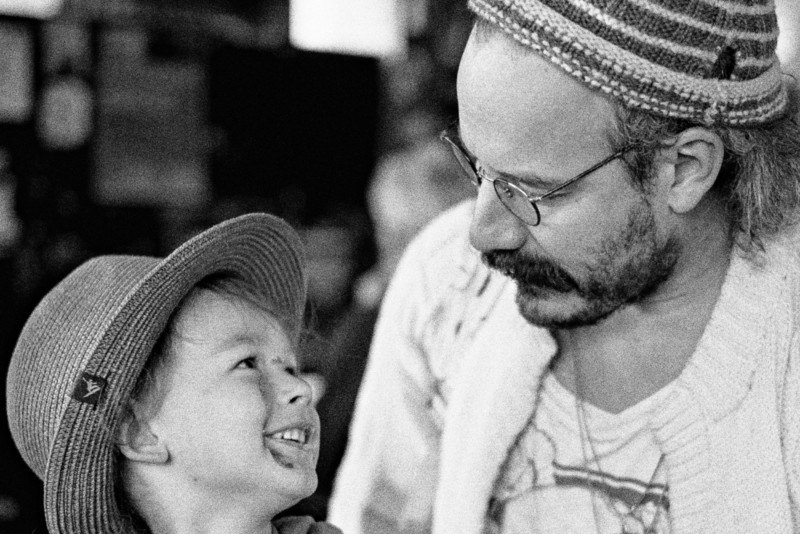
I had the same essential portrait on both my digital Leica M and film M7 and tried to match as closely as I could to exposure and contrast I had put into the film scan.

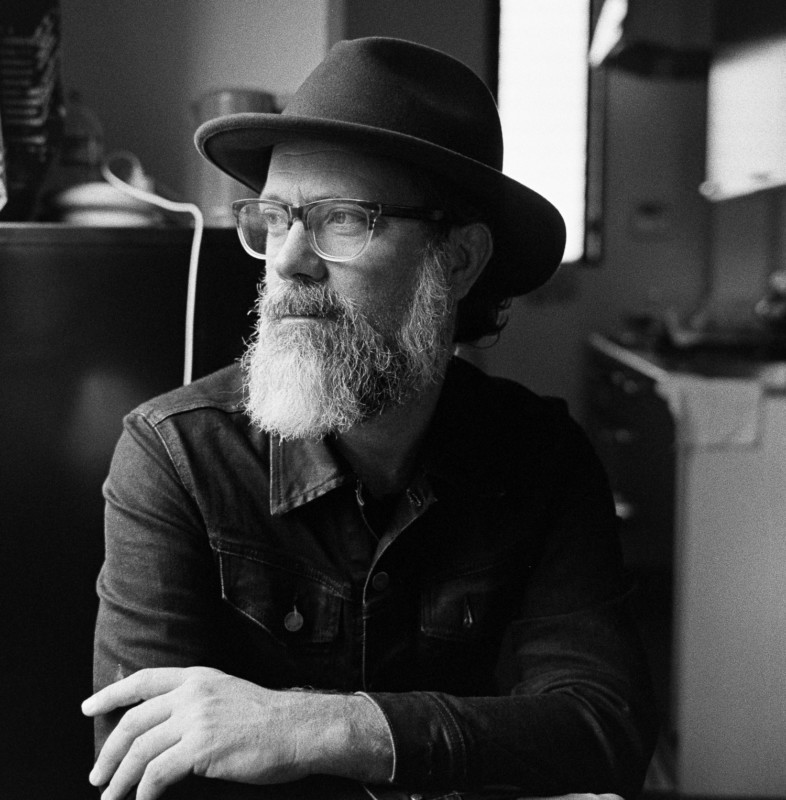
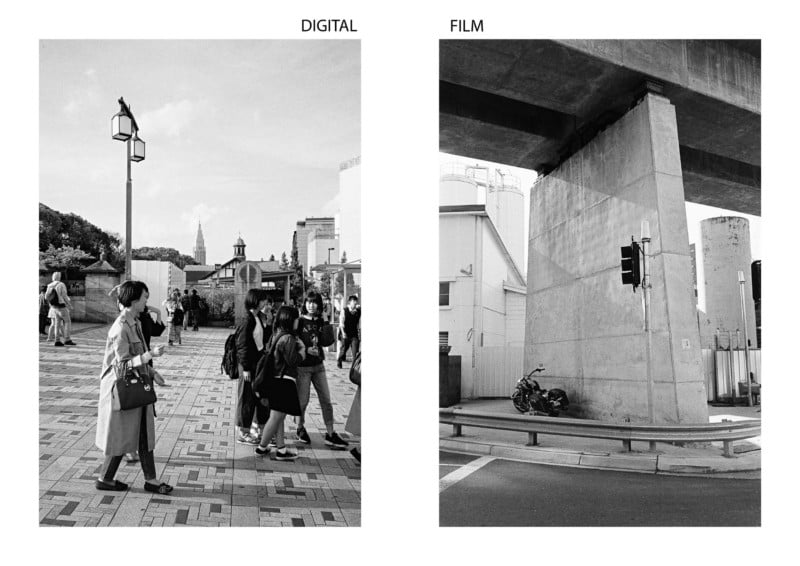
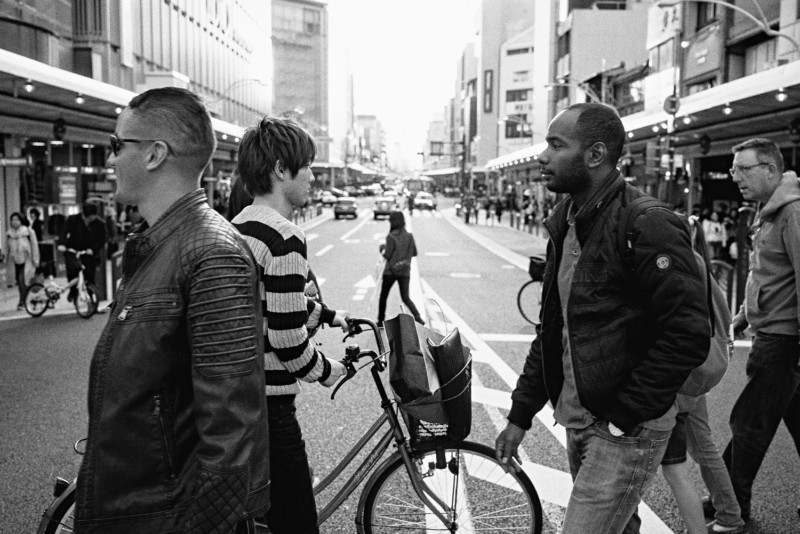
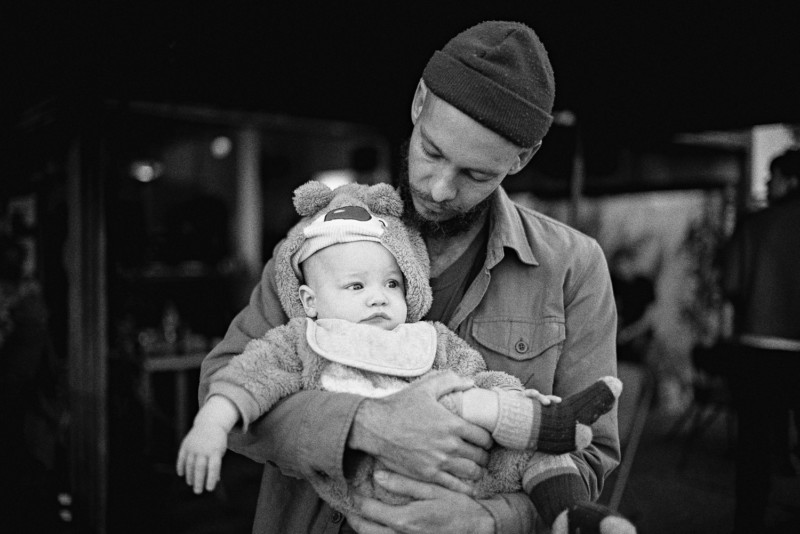
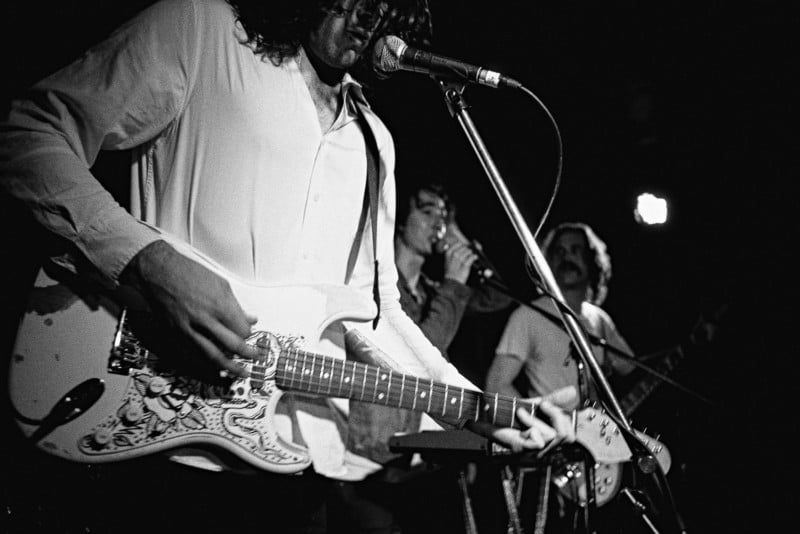
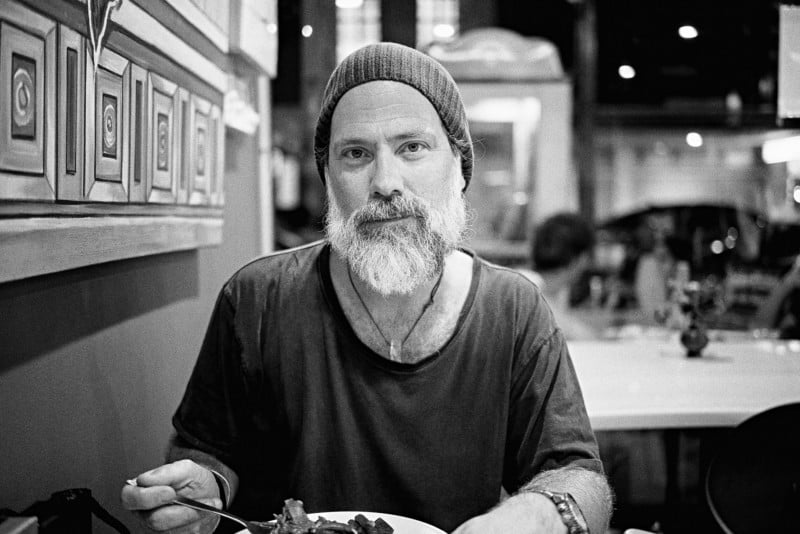
Some Other Examples (All Leica M Typ 240)


About the author: Nick Bedford is a personal documentary and fine art photographer from Brisbane, Australia. You can find more of his work and words on his website and blog, or by following him on Instagram and YouTube. This post was also published here.