Earlier today, Apple officially released Apple ProRAW via iOS 14.3. This new hybrid image format claims to give you the best of both worlds: AI-powered computational photography on the one hand, and the flexibility of a 12-bit RAW file on the other. But does it deliver the goods? In a word: yes.
Over the past week, we’ve been testing Apple ProRAW on the latest beta of iOS 14.3, using the iPhone 12 Pro Max to capture all of the sample images you see below.
You can learn more about Apple ProRAW, what it is, and how to turn it on here, but please note that, as of this writing, the feature is only available on the iPhone 12 Pro and 12 Pro Max. That’s a bummer, because after looking at the side-by-side comparisons, we’re confident that ProRAW is the only way that iPhone users should be shooting RAW images.
Side by Side (by Side) Comparison
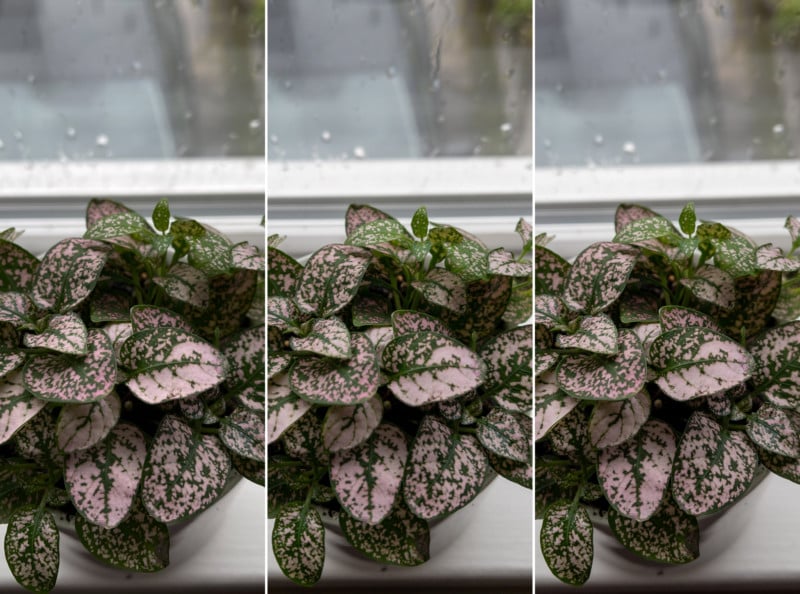
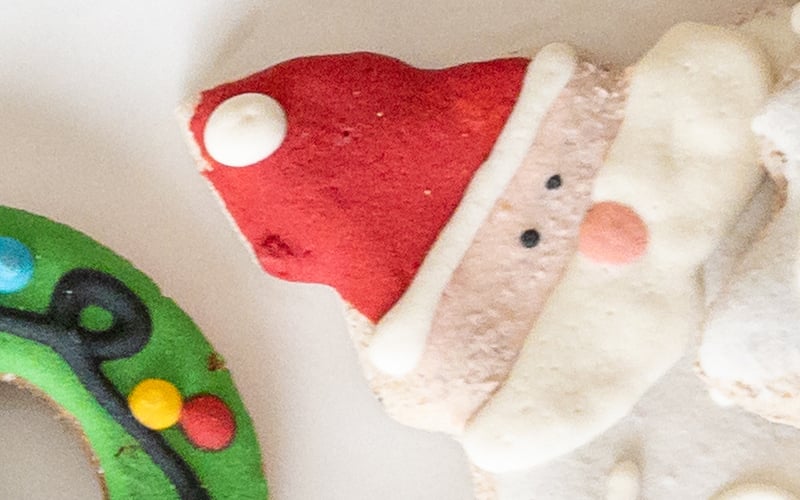
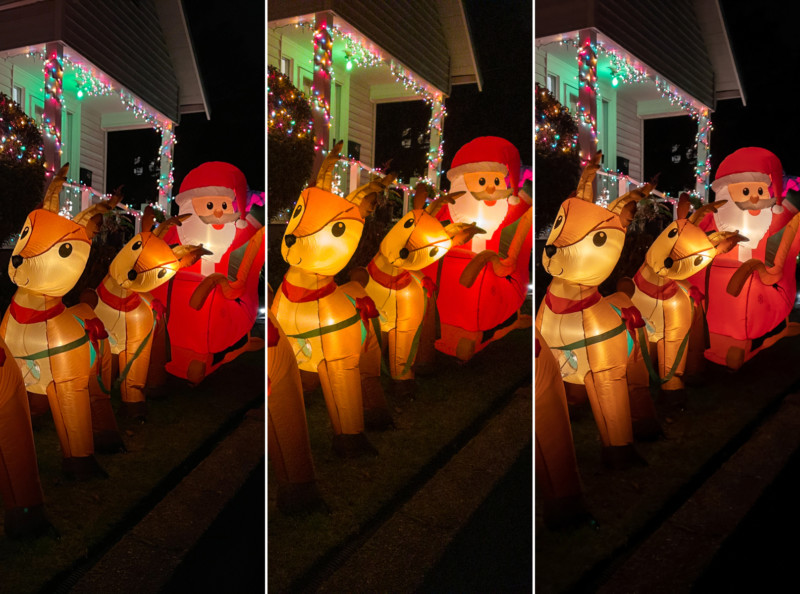
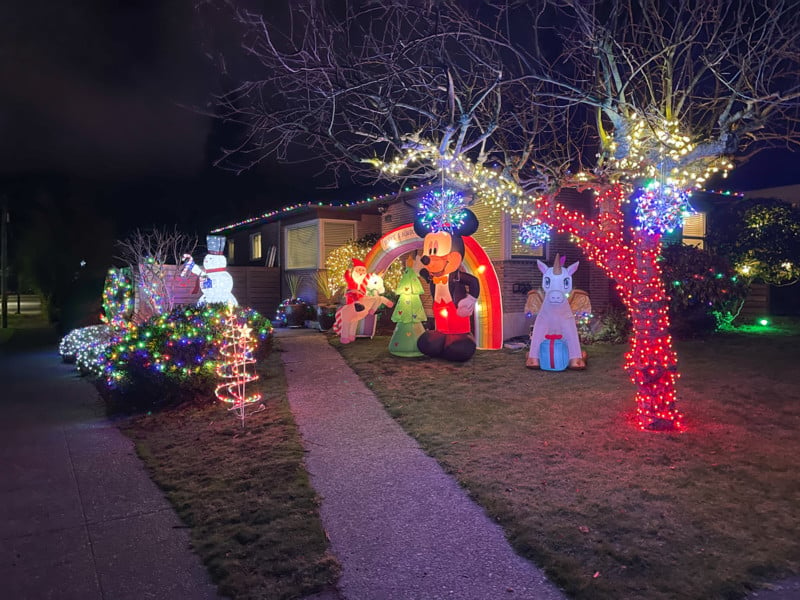
On to the photos. Below are a series of images that were shot in all three available formats: HEIC, ProRAW DNG, and “plain” DNG (using the Lightroom app). For this comparison, the HEIC images were left unchanged, while both the plain DNG and the Apple ProRAW DNGs were lightly edited in Lightroom CC to try and match the tones of the HEIC files.
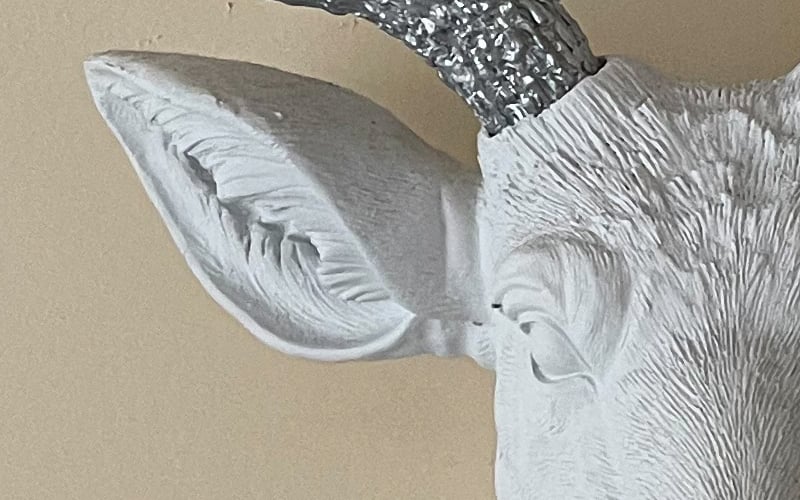
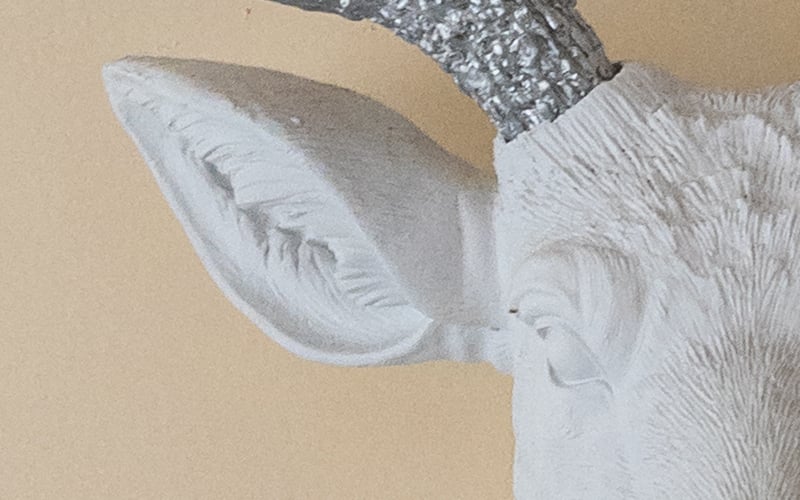
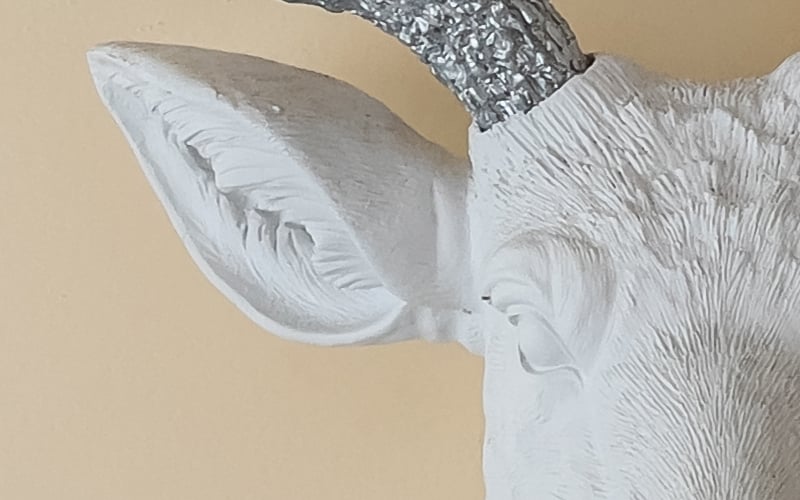
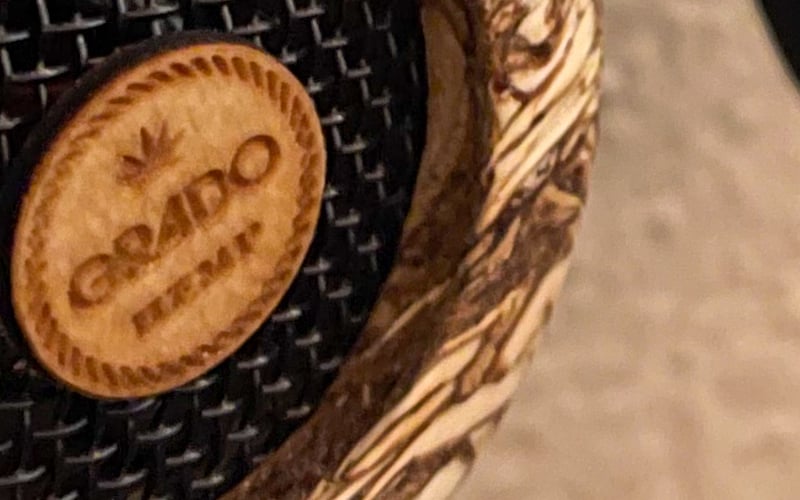
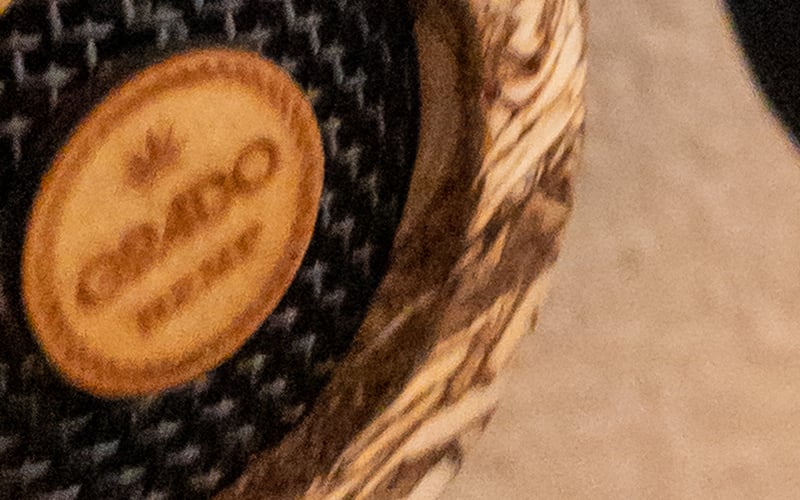
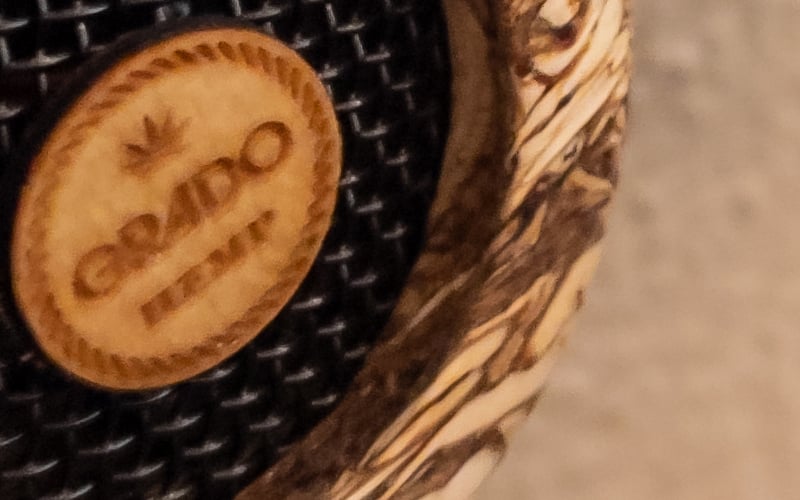
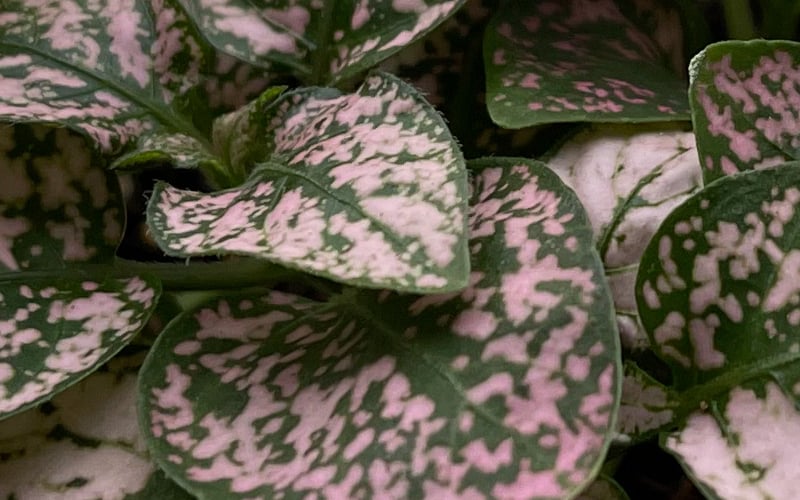
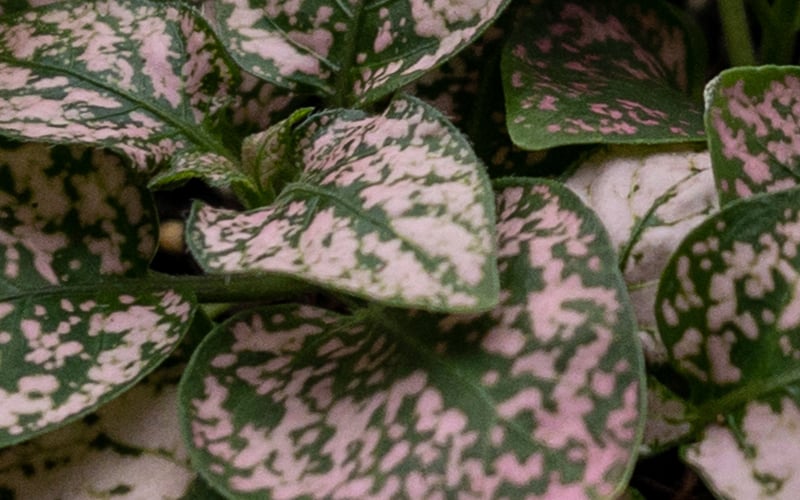
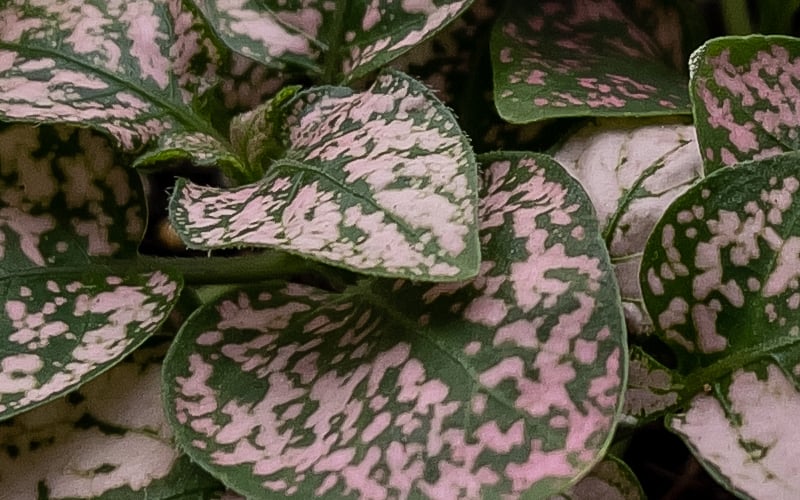
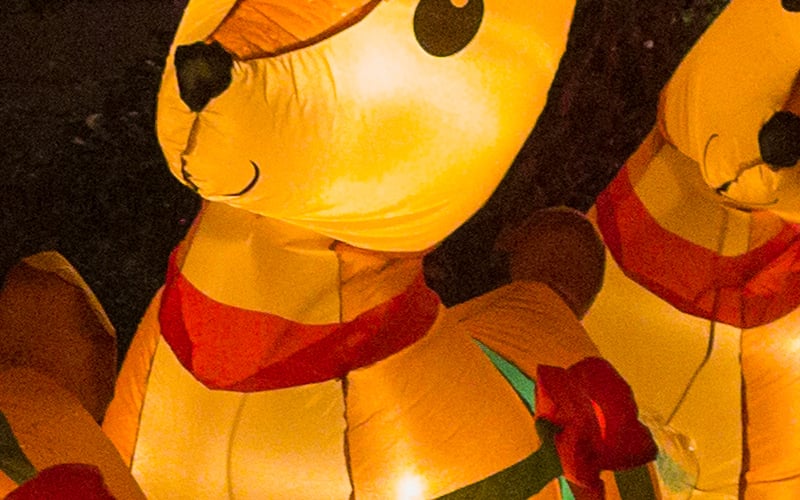
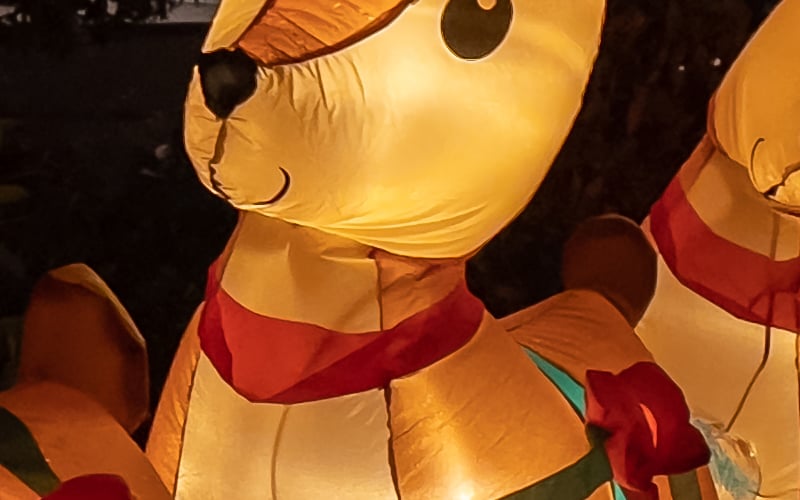
Even without cropping in, you can tell that the stacked HEIC and ProRAW images capture more detail and texture thanks to Apple’s SmartHDR and Deep Fusion tech:

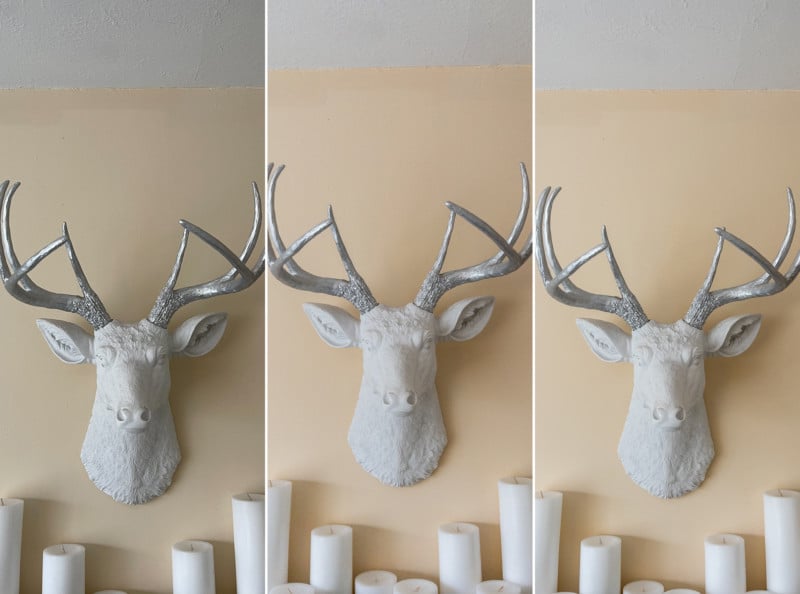
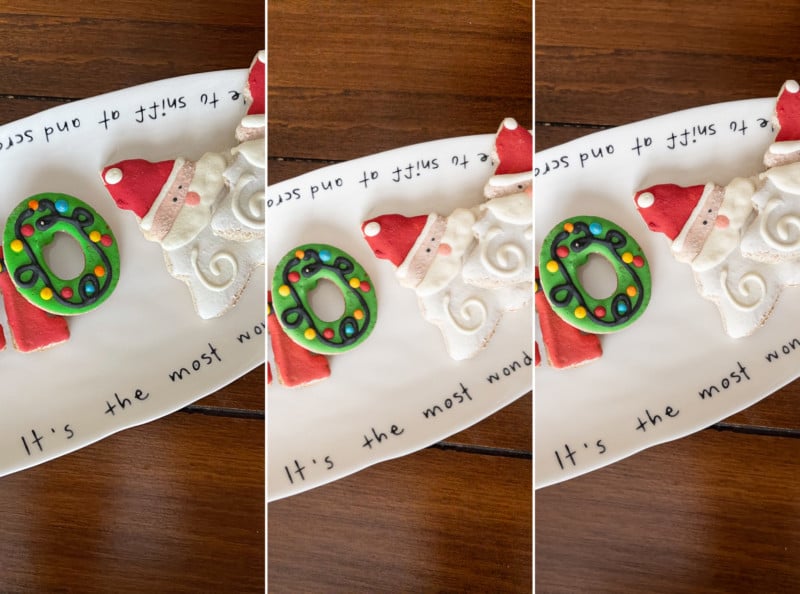
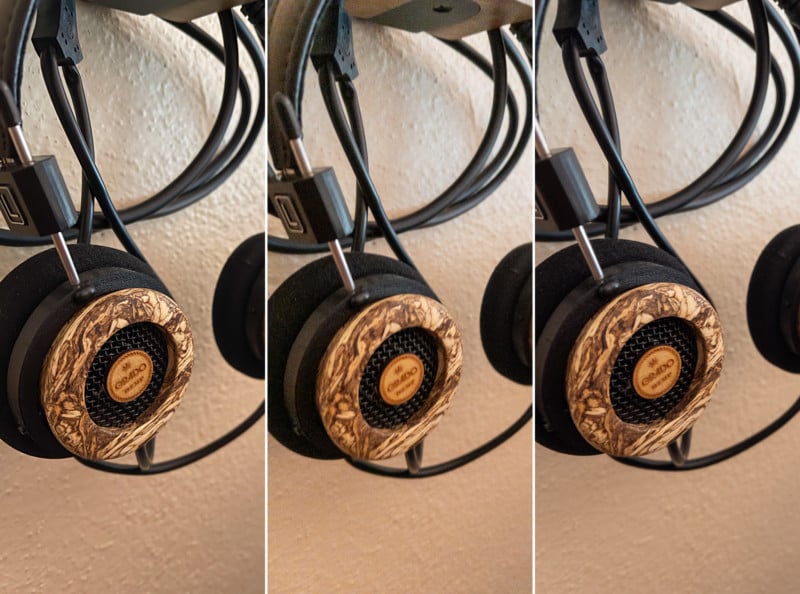
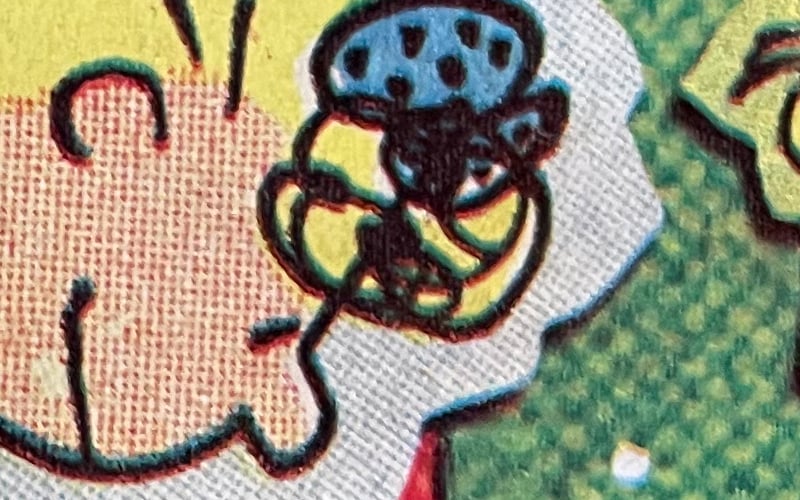
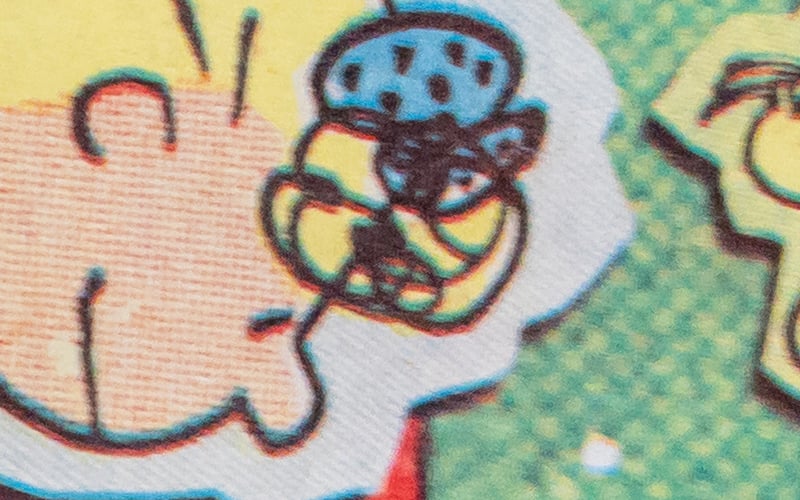
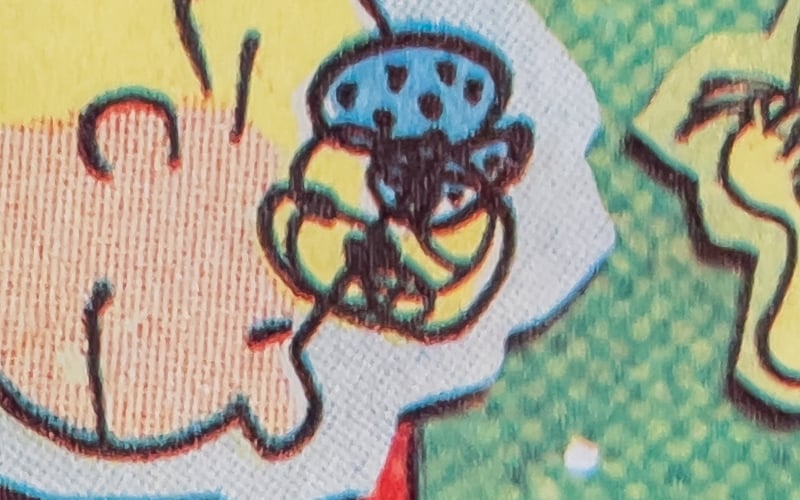
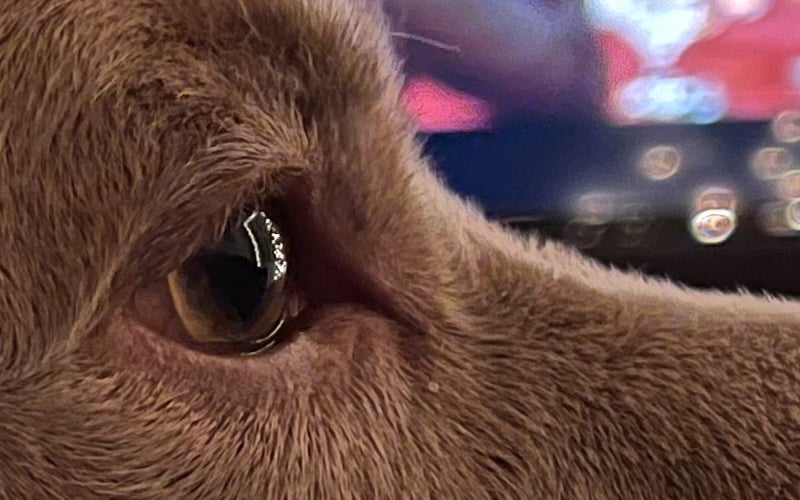
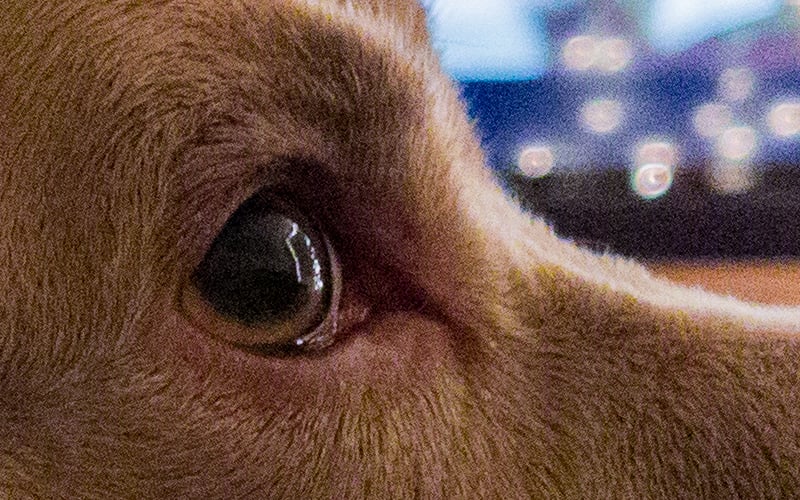
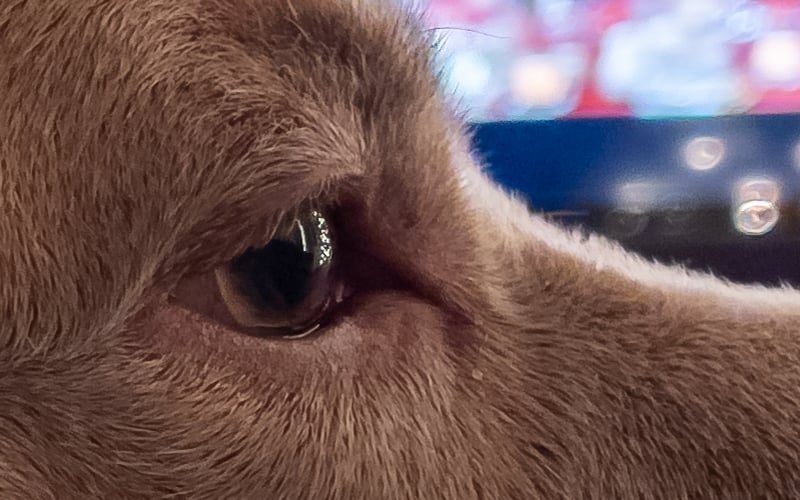
Once you crop in to take a closer look, the difference becomes even more obvious. The ProRAW DNGs capture noticeably more detail than the plain DNGs shot with Lightroom. This isn’t the effect of sharpening or automatic contrast adjustment like you see on the HEICs, it’s the result of stacking multiple images using machine learning to enhance detail and texture:


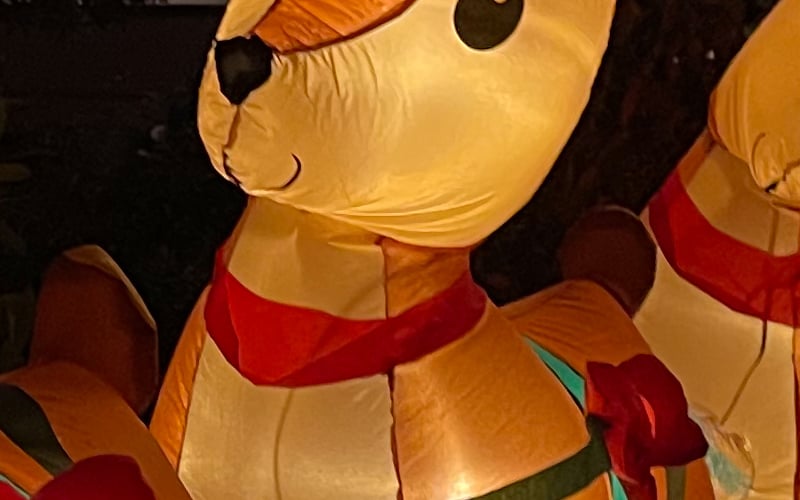
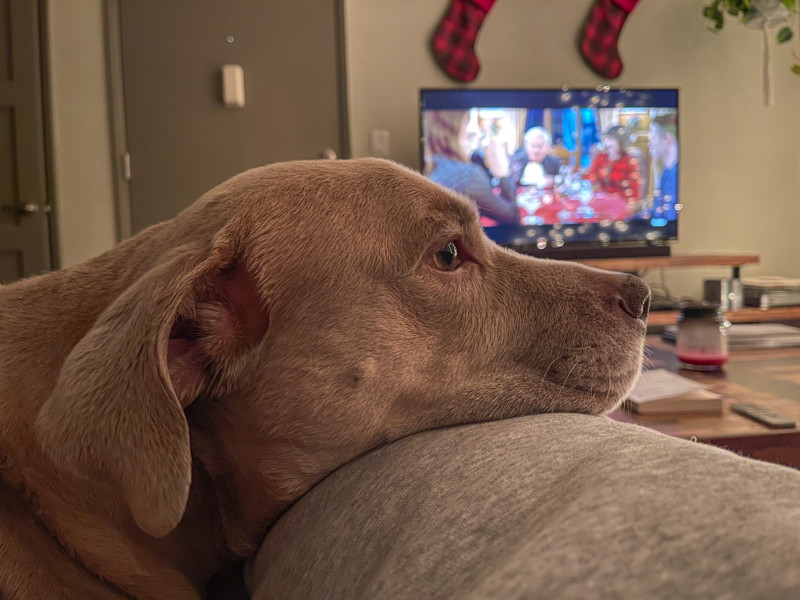
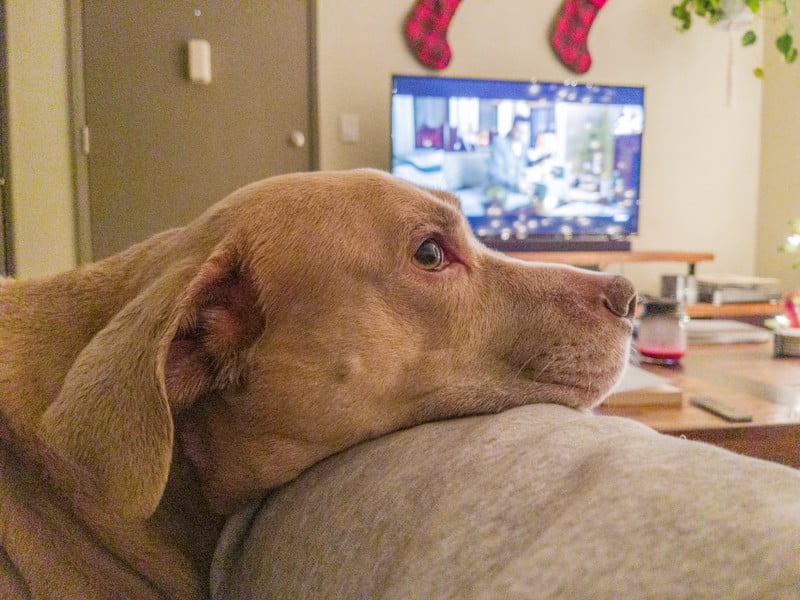
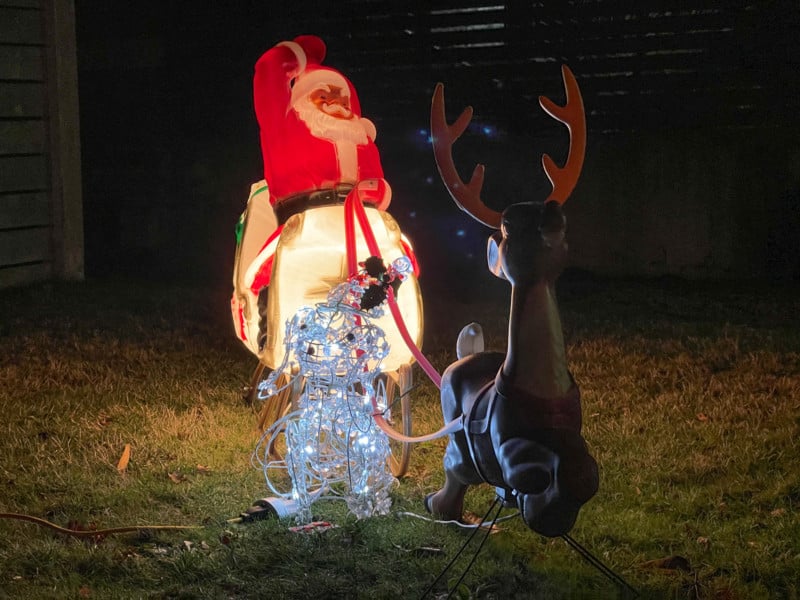
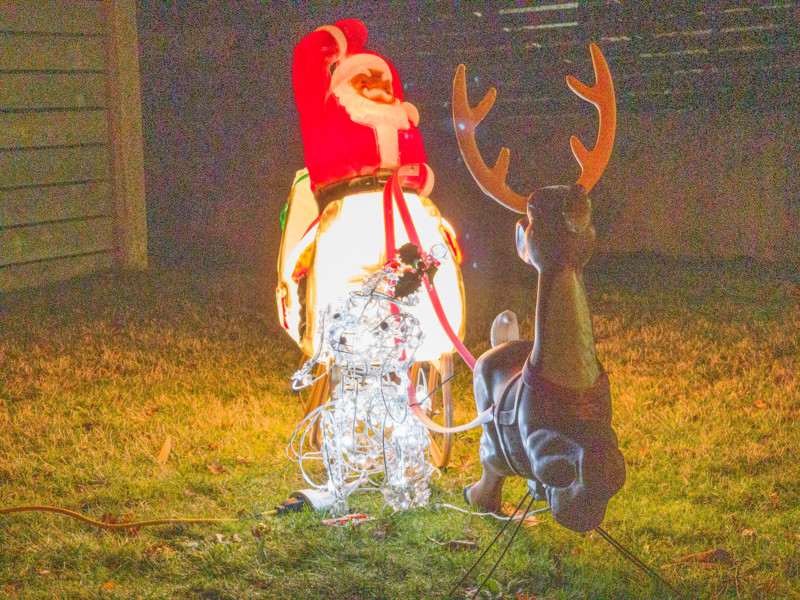
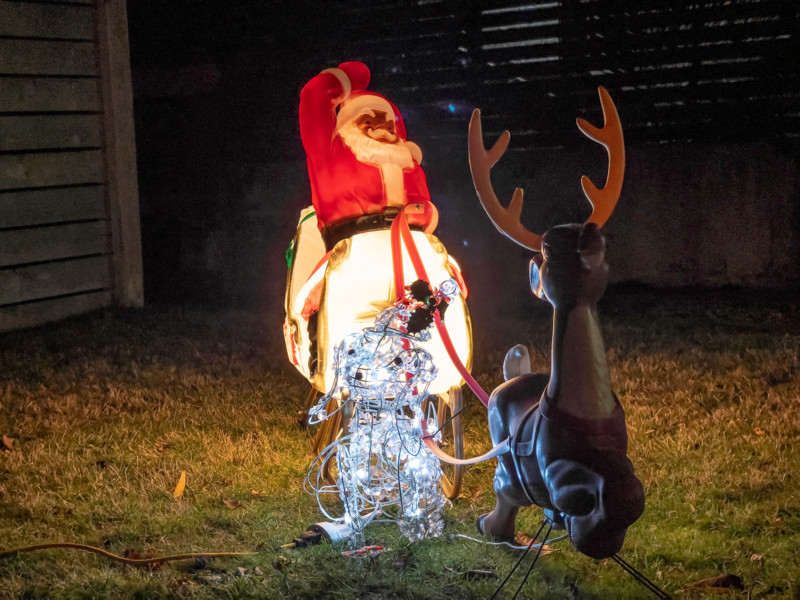
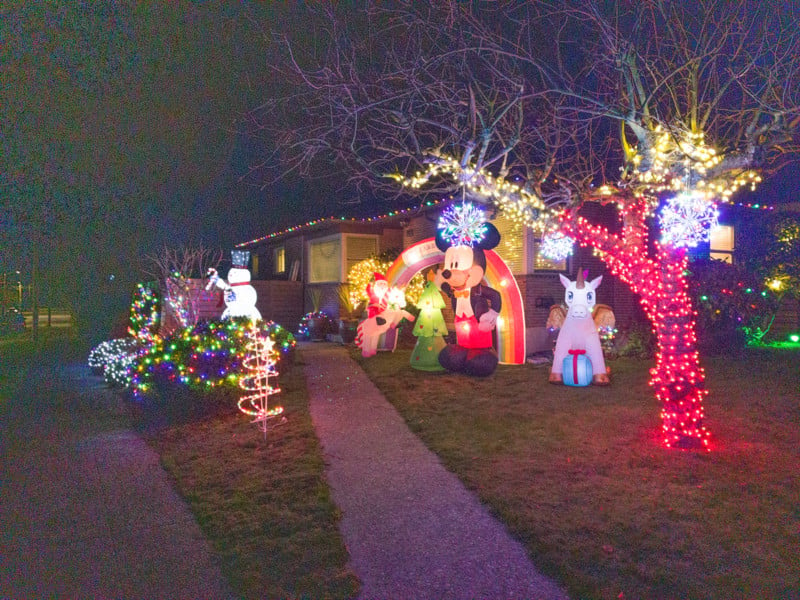
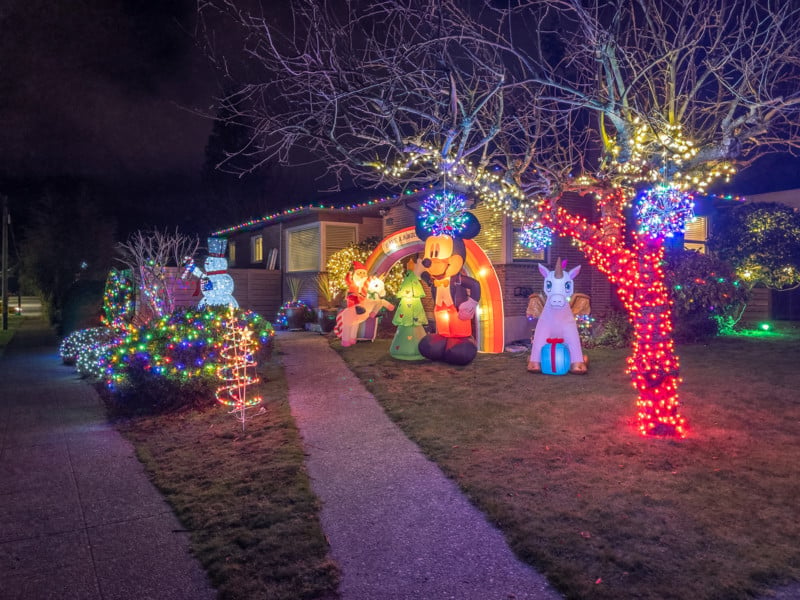
This is already a good start; however, the biggest difference shows up when shooting in Night Mode. For the first time ever, iPhone photographers can capture RAW images in extremely low light hand-held thanks to Apple’s AI-powered image stacking technology. There’s simply no contest between the plain DNG and the image-stacked ProRAW files once the lights go down.
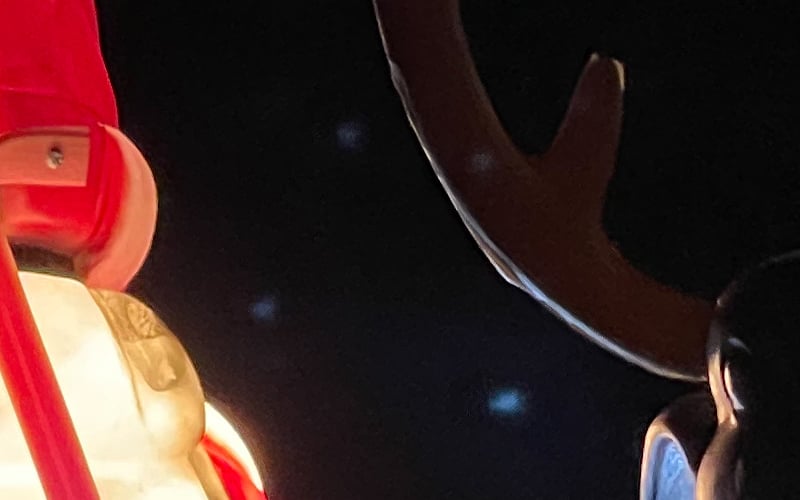
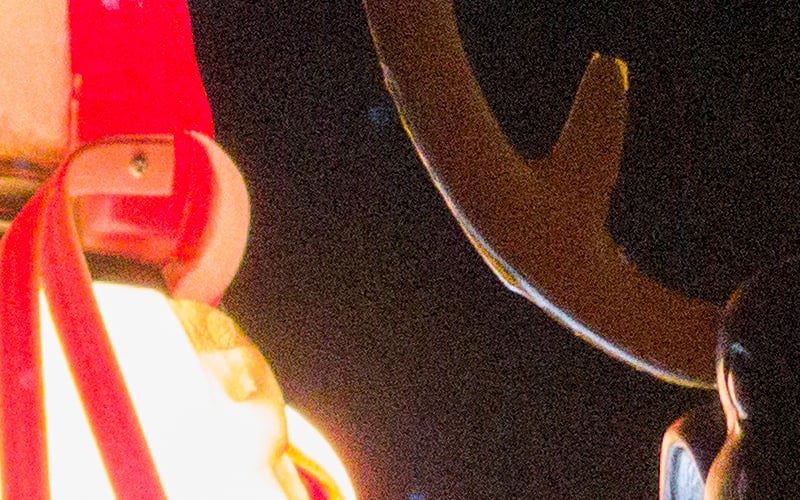
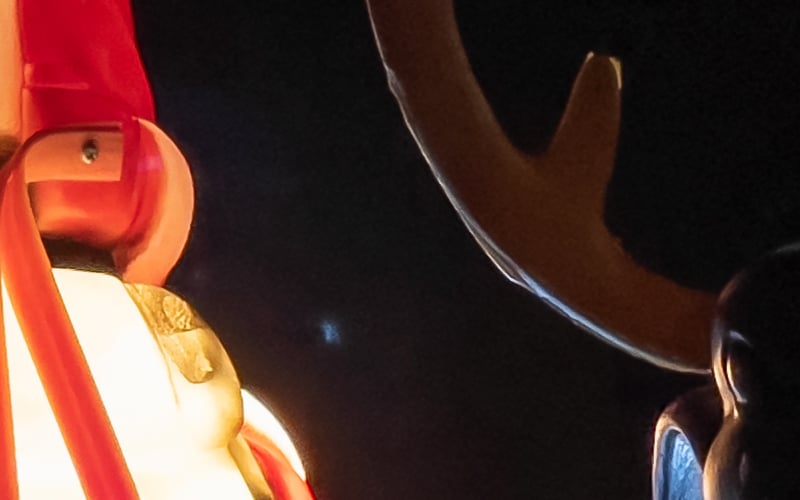
Here are a few Night Mode samples side-by-side:

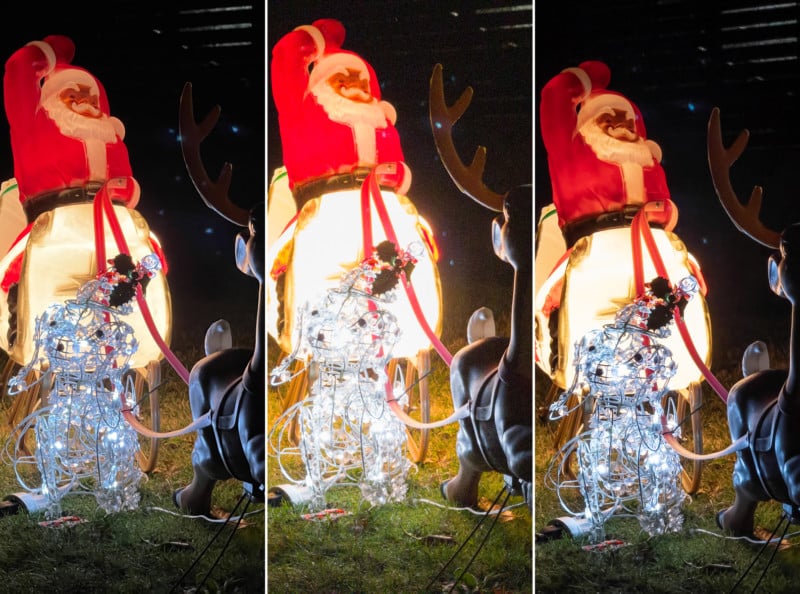
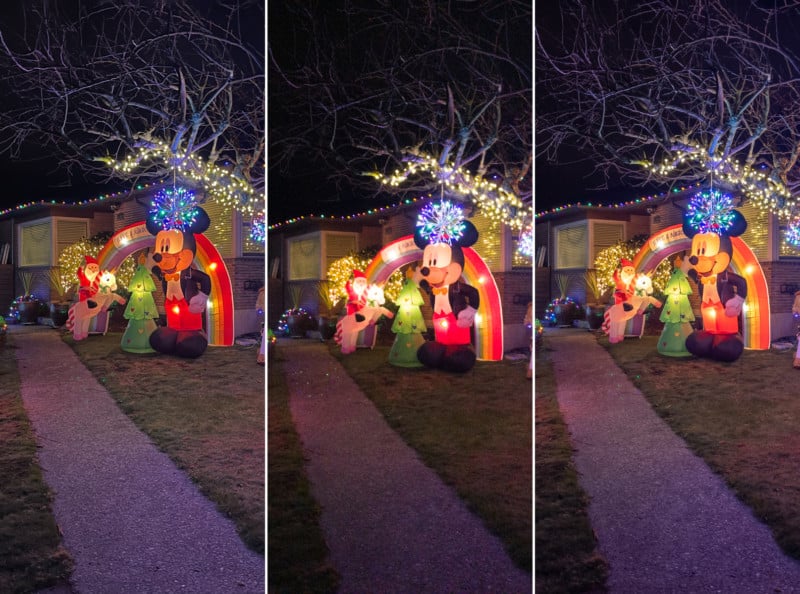
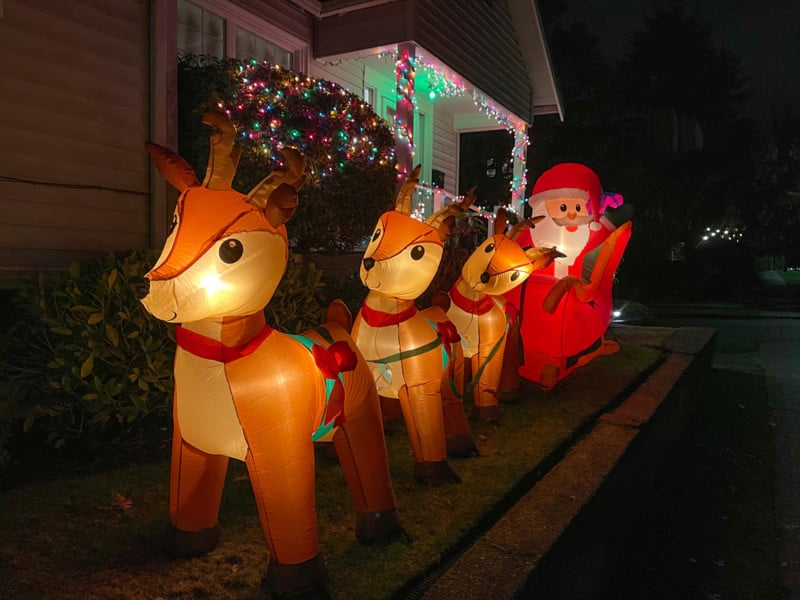
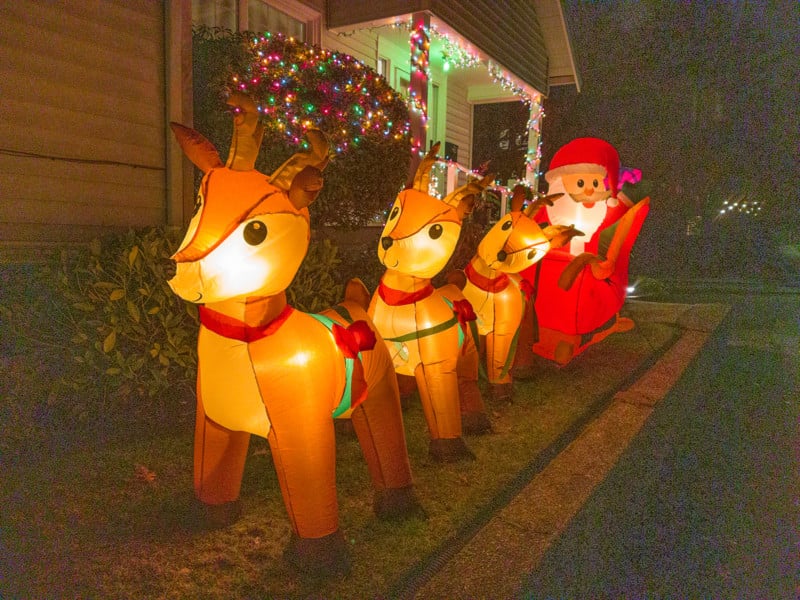
And here are the same photos cropped in past 100%. At this magnification, the horrendous noise and lack of detail on the standard DNGs really stands out:


Finally, as a last test we pulled the same low-light images into Lightroom and pushed the shadows to +100 to see how the files would react. The HEIC files show minimal latitude in post but they still respond well to the shadows slider, the ProRAW files respond beautifully and clearly contain much more data, and the regular DNGs shot with the Lightroom app look… well… see for yourself:

Verdict
There’s no question: if you’re a stickler for image quality and you shoot RAW photos with your iPhone, you should absolutely turn on ProRAW and keep it on all the time. There is no reason to shoot regular DNGs using some third-party app, you’re just leaving performance on the table. No matter the lighting conditions, we found no shooting or post-processing advantage whatsoever when comparing plain DNGs to ProRAW DNG.
Under regular light conditions, the difference will be subtle. Smart HDR and Deep Fusion definitely have an effect, but it’s only really noticeable under certain conditions or if you crop in close. Night mode, on the other hand, is in a league of its own. There’s simply no comparison between a regular DNG shot using a high ISO setting and a ProRAW DNG shot using the image stacking power of Night Mode. I’m tempted to call it a game-changer but… well… we all know what happens in the comments when I do that.
The main downsides to using the new format are the same as any other RAW file: storage space and processing. ProRAW DNGs are anywhere from 10x to 20x larger than their HEIC counterparts, especially when shooting in Night Mode, and the images need to be converted before you can share them on most social media. But if you’re already in the habit of shooting and editing RAW files, and storage space isn’t an issue, ProRAW is the best way to shoot RAW photos on an iPhone… period.
About the author: DL Cade is an art, science and technology writer, and the former Editor in Chief of PetaPixel. When he’s not writing op-eds or reviewing the latest tech for creatives, you’ll find him working in Vision Sciences at the University of Washington, publishing the weekly Triple Point newsletter, or sharing personal essays on Medium.